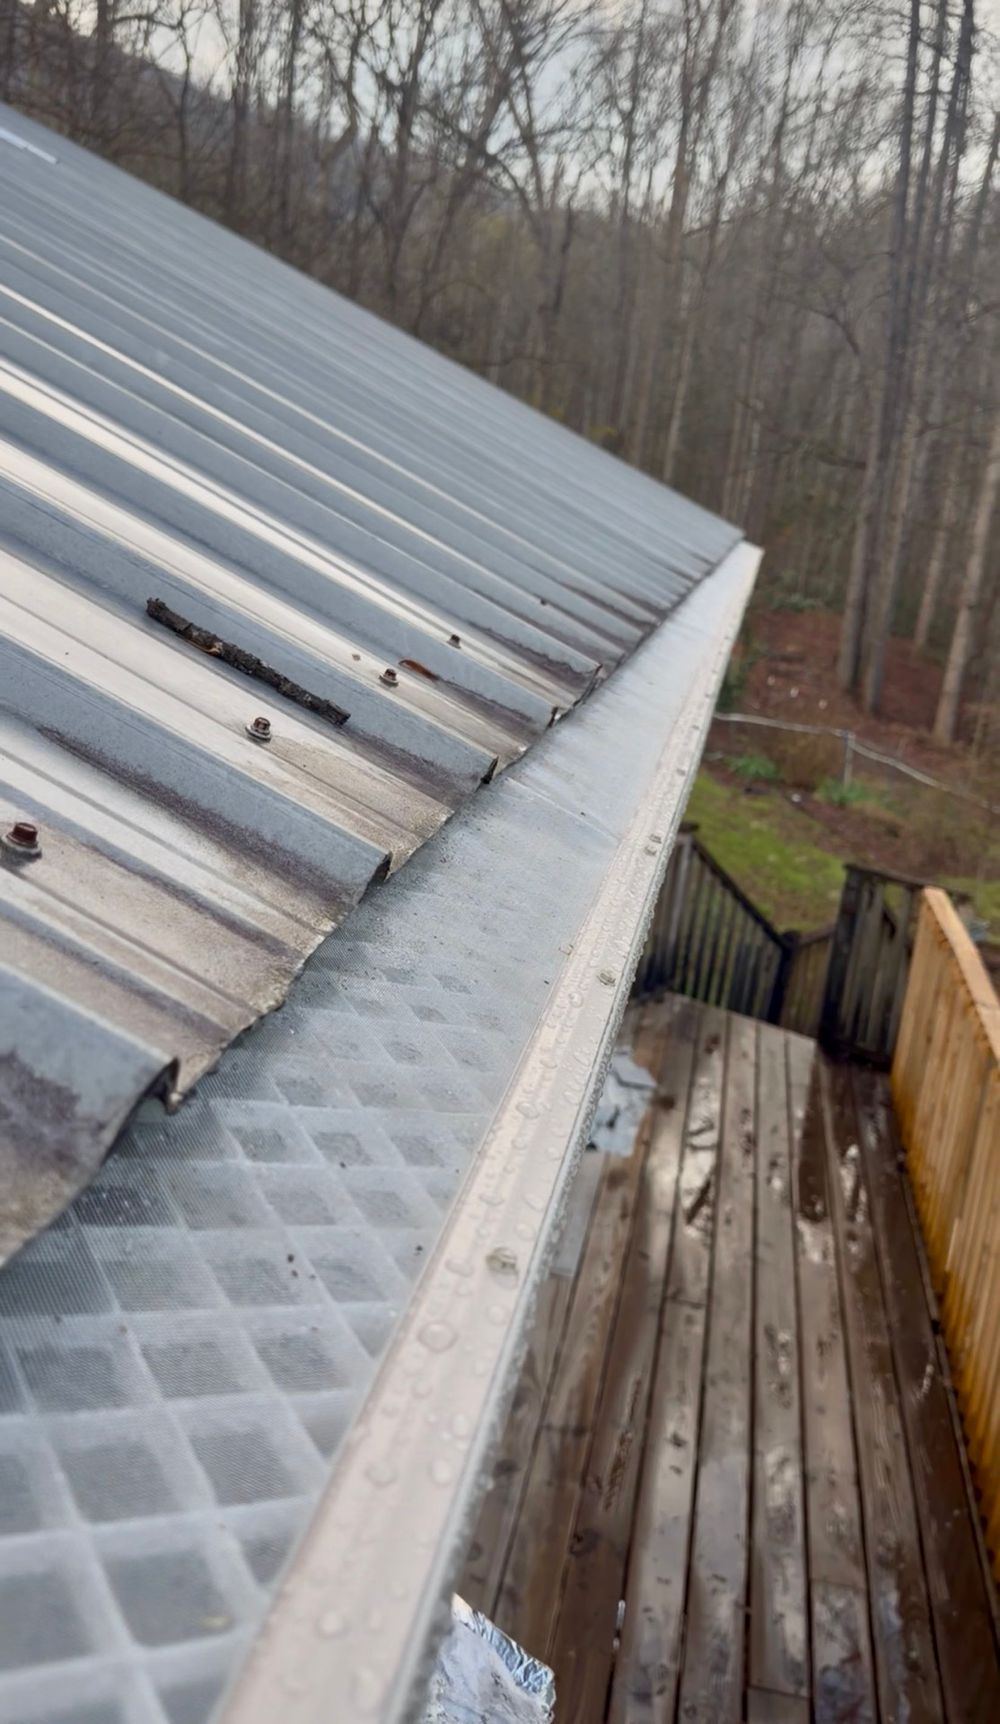
Gutter guards are one of the best upgrades you can make to an Upstate home — when they're installed correctly. When they're not, you end up with overflowing gutters, water against the fascia, a voided roof warranty, or a set of clogged screens you're back to cleaning by hand. We see all of it across Greenville, Greer, Simpsonville and Easley, usually after a rushed DIY job or a bargain crew has already been and gone.
Here are the gutter guard installation mistakes we fix most often — and exactly how to get it right the first time under our pines, oaks and summer storms.
- The material matters most — stainless micromesh outlasts plastic, foam and brush guards in Upstate heat and UV.
- Fix pitch, sag, hangers and downspouts before you cover anything — guards don't repair a bad gutter.
- Never let anyone slide guards under your shingles; it can void your roof warranty.
- Most of these mistakes are avoided by a proper inspection — which is where a local pro earns their keep.
1. Buying the wrong type of guard
The mistake starts before anyone touches a ladder. Bargain-bin plastic screens, foam inserts and brush-style "pipe cleaner" guards are cheap for a reason: they don't hold up. South Carolina sun and heat make plastic and foam brittle within a season or two, and their large openings do nothing to stop the fine stuff — pine needles, oak catkins, shingle grit and windblown seed — that actually clogs Upstate gutters.
What to choose instead
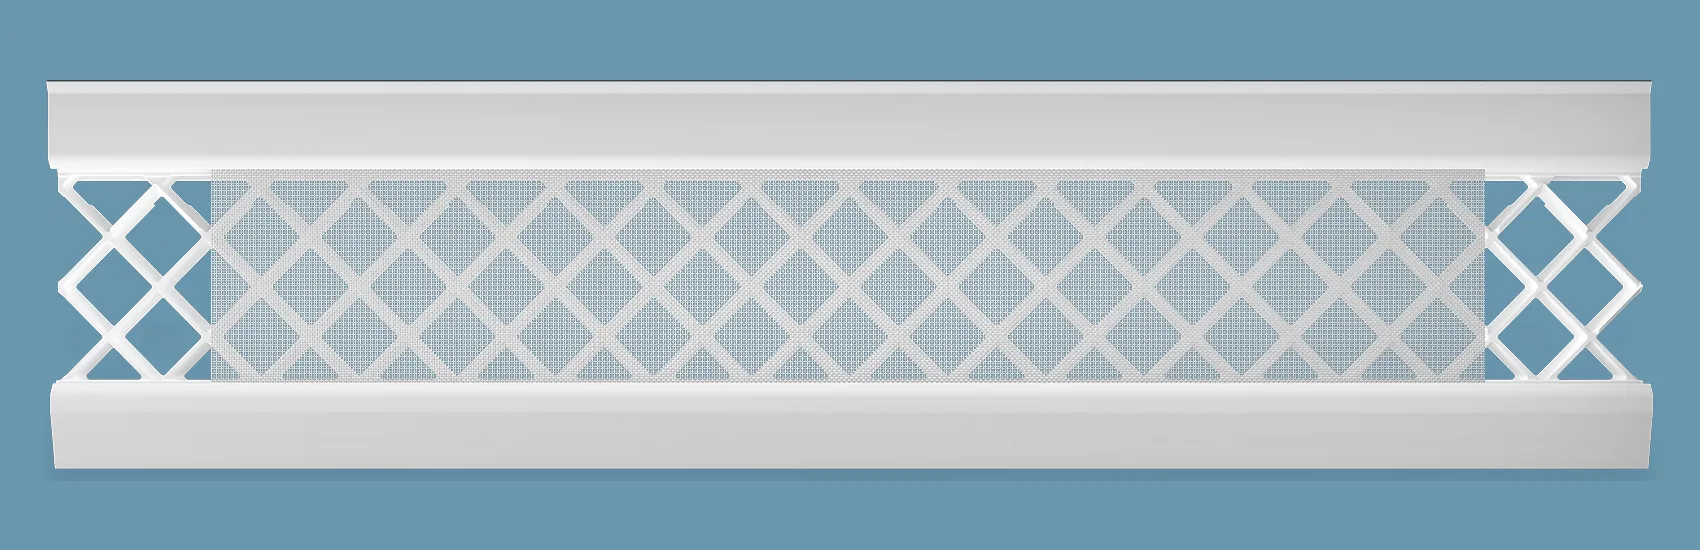
Look for a rigid stainless steel micromesh guard on an aluminum frame. The fine mesh sheds fine debris, the metal doesn't degrade in the sun, and a quality system carries a lifetime, transferable no-clog warranty. It costs more up front and saves you from buying guards twice.
- Avoid: foam inserts, plastic snap-in screens and brush guards — short lifespan, poor fine-debris control.
- Choose: surgical-grade stainless micromesh on a sturdy frame that keeps pine needles out.
- Ask about: the warranty — a real no-clog guarantee tells you the maker trusts the product.
2. Skipping the pre-install inspection
Guards get bolted onto whatever is already there. If that gutter is sagging, rusted or pitched wrong, the guard just seals the problem in. A proper installation starts with a full inspection of the existing system, top to bottom.
On an Upstate home that means checking for fascia rot behind the gutter (common with our humidity), leaking seams and miters, rust or pinholes in the trough, and whether the run still drains the way it should. Every one of those is cheaper to fix before a guard goes on than after.
"A gutter guard is only as good as the gutter under it. We won't cap a system we haven't inspected — because the guard can't fix what it's hiding."
— Upstate LeafFilter3. Ignoring pitch, sag and loose hangers
Gutters aren't level — they're pitched to run water toward the downspouts, and that slope matters. The rule of thumb is about a quarter inch of fall for every ten feet of run. Too flat and water pools; too steep and it races past the outlets. Guards add weight, so an already-tired run sags further once they're on.
Check the hangers
Hangers should be secured roughly every 24 to 36 inches, and tighter than that near valleys and corners where storm water concentrates. Loose, spread-out or missing hangers are one of the top reasons a "guarded" gutter still overflows in a Greenville downpour.

4. Tucking guards under the shingles
This is the mistake that costs the most money. Some guards are designed to slide up under the first course of shingles — and some installers do it regardless of the product just to get a tighter angle. Lifting those shingles breaks the factory seal, creates a wind-uplift point, and can void your roofing warranty outright.
If a hailstorm later damages that roof and the manufacturer sees gutter guards jammed under the shingles, your claim can be denied. It simply isn't worth it.
- Ask exactly how the guard mounts — the answer should be "to the gutter," not "under the shingles."
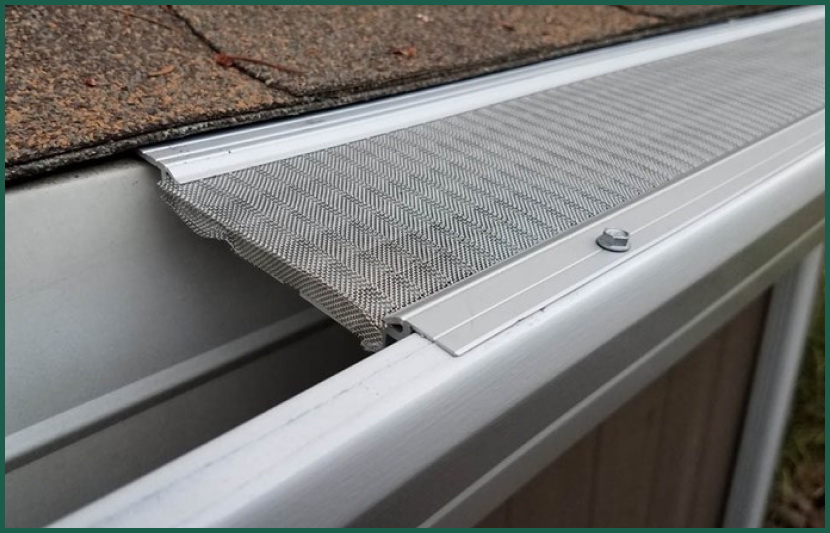
- Quality micromesh fastens to the gutter's front lip and never disturbs the roof.
- Keep your shingle seal intact so hail and wind claims stay valid.
- When in doubt, get the mounting method in writing before work starts.
5. Loose, wrong or overtightened fasteners
How a guard is attached determines how long it lasts. Use the wrong fasteners — bare steel screws instead of corrosion-resistant ones — and Upstate humidity rusts them within a few seasons, staining the fascia and loosening the panels.
Not too tight, not too loose
Torque matters too. Overtighten and you warp or crack the panel and the gutter lip; undertighten and the guards shift, rattle in the wind, and let debris slip through the gaps. Panels should also overlap in the direction of water flow, seated flat so wind can't get under a raised edge and lift the whole run.
6. Forgetting the downspouts
Guards keep the trough clean, but they do nothing for a clogged or undersized downspout. If water can't exit the system, it backs up and overflows no matter how good the mesh is. This is one of the most-skipped steps in a rushed install.
Before guards go on, downspouts should be cleared, checked for proper sizing, and confirmed to carry water four to six feet away from the foundation — critical on Greenville lots where clay soil and heavy rain already push moisture toward the house. A simple hose flow test proves the whole system drains before it's sealed up.
Want it done right the first time?
Our local crews inspect, correct and install — no shingle tuck-under, no cheap screens, no guesswork. Lock in a free on-site quote good for 12 months.
7. Poor sealing and bad-weather installs
Seams, miters and end caps are where gutters leak first. A careful install seals those joints with an outdoor-rated silicone or polyurethane so water can't sneak behind the guard at a corner. Skip it and you get drips down the fascia that look exactly like a clog even though the mesh is clear.
Timing counts in the Upstate
Sealant needs the right temperature to cure — generally between about 40°F and 85°F — and a dry window to set. Installing in the rain, in a stiff wind, or in a July heat spike can keep sealant from bonding. Late spring and early fall are the sweet spots here, which happens to line up with when you'd want the guards ready for leaf drop anyway.
8. DIYing without the right tools or research
Plenty of Upstate homeowners are handy, and a single-story ranch can be a reasonable DIY. But most guard systems need precise measurements, specific fasteners and correct alignment to perform, and getting any of it wrong can void both the product warranty and — if you disturb the roof — your roof coverage.
Then there's the height. Two-story work in Greenville means tall ladders on uneven ground, and that fall risk is real. A professional crew brings the right equipment, the training to spot the problems above, and a warranty that stands behind the result.
- Measure twice: guards must fit your exact gutter profile to seat correctly.
- Read the warranty: know what installation method is required to keep coverage valid.
- Respect the height: two-story ladder work is where most DIY injuries happen.
"Nearly every callback we get on someone else's guards traces to one of these mistakes. Get the basics right and a good guard just works — for decades."
— Upstate LeafFilterFrequently asked questions
Keep reading