Rain gutters look simple from the driveway — a strip of metal along the roofline. But installing them well is really about one thing: moving water to the right place with just enough slope to keep it moving. Get the pitch, the hangers and the downspouts right and you protect your fascia, siding and foundation for decades. Get them wrong and you invite the exact rot and erosion gutters are supposed to prevent.
This guide walks through a full sectional-gutter install the way a careful homeowner would tackle a single-story ranch — plus honest guidance on where an Upstate roofline gets steep enough that you should hand the ladder to someone else.
Tools & materials you'll need
Before you touch the ladder, gather everything so you're not climbing up and down a dozen times. A good gutter install is mostly measuring, cutting and fastening — no exotic gear required.
- Tools: extension ladder, cordless drill, tin snips or a hacksaw, tape measure, chalk line, caulk gun, and safety glasses and gloves.
- Gutter parts: sectional gutter lengths (5-inch K-style suits most Upstate homes; go 6-inch under heavy tree cover), end caps, downspout outlets and inside/outside corners.
- Fasteners: hidden hangers, self-tapping hex-head screws, pop rivets and gutter sealant.
- Downspout parts: downspouts, elbows and mounting straps or brackets.
One rule from every install we've done: never do this job alone. A second person steadies the ladder, feeds you long sections, and keeps a run level while you fasten it. It's a safety measure and a quality measure at the same time.
Seamless vs. sectional gutters
There are two ways gutters get onto a house, and the choice shapes your whole weekend.
Sectional gutters come in pre-cut lengths — usually 10 feet — that you join together yourself with connectors, rivets and sealant. They're sold at any home-improvement store and are the only realistic path for a DIY install. The trade-off is joints: every seam is a spot that can eventually leak if the sealant fails.
Seamless gutters are rolled to the exact length of each run on-site by a machine, so a whole side of the house is one continuous piece with no mid-run seams. They leak far less and last longer, but they require a professional crew with the forming equipment. For most Greenville homes, seamless installed by a pro is the better long-term value — but if you're set on doing it yourself, sectional is the way.
"Every seam is a future leak waiting for the right storm. The fewer joints your gutters have, the fewer things there are to fail."
— Upstate LeafFilterMeasuring & planning the slope
This is the step that separates gutters that work from gutters that puddle. Two numbers matter: how much gutter you need, and how much it should drop.
Measure each run along the fascia and add up the total linear footage. Count your corners, end caps and outlets while you're at it, and mark where each downspout will go. A quick tip: add about four feet to your downspout height so you have material for the elbows and an extension that carries water away from the foundation.
Then plan the pitch. Gutters need to tilt slightly toward the downspout — the target is roughly a 1/4-inch drop for every 10 feet of run. That's subtle enough that it won't look crooked from the yard, but enough to keep water moving instead of pooling and breeding mosquitoes in our long, humid Upstate summers.
- Mark the high point about 1¼ inches below the roof's drip edge at one end of the run.
- Measure to the low point (the downspout end) and drop it 1/4 inch for every 10 feet of length.
- Snap a chalk line between the two marks — that line is the top edge your gutter will follow.
- On long walls, slope from a high center point down to a downspout at each end so no single run gets too much drop.
Step-by-step gutter installation
With your fascia sound, your parts staged and your chalk line snapped, here's the actual install in order.
- Repair the fascia first. Gutters are only as strong as the wood behind them. Replace any soft, rotted or split fascia before you hang a single hanger — this is the most-skipped and most-regretted step.
- Mount the hangers. Fasten hidden hangers into the fascia or rafter tails every 18–24 inches, starting about 4 inches in from each end. In the Upstate, tighten spacing toward 18 inches to carry wet leaf loads and storm water.
- Cut the sections. Measure twice, then cut gutter to length with tin snips or a hacksaw and smooth the edges. Cut the round outlet holes where each downspout will drop.
- Join the runs. Overlap and connect sections with sealant and rivets so every joint is watertight. Do this on the ground where you can press seams together cleanly.
- Attach end caps & outlets. Seal and fasten an end cap on each open end, and set the downspout outlets into their holes with sealant around the rim.
- Hang the gutter. Lift the run into the hangers along your chalk line, then secure it. Sight down the length to confirm the slope and alignment look right before you lock everything down.
- Seal every seam. Run a bead of gutter sealant over inside seams, end caps and fastener heads. This is cheap insurance against the drips that show up a year later.
- Anchor into solid wood — fascia backed by a rafter tail — never into punky or painted-over rot.
- Use hidden hangers with screws, not the old spike-and-ferrule method that works loose over time.
- Don't overtighten and dimple the gutter lip; snug and straight is the goal.
- Double-check spacing under eaves that catch pine straw — extra weight means extra hangers.
Hanging the downspouts
The gutter catches the water; the downspout is what actually gets it to the ground and away from your foundation. Skimp here and everything upstream overflows.
Connect an elbow at each outlet, run a section of downspout down to the wall, add a second elbow to tuck it against the siding, then drop straight to the bottom. Strap the downspout to the wall roughly every 10 feet so wind and water pressure can't pull it loose. Finish with an elbow or extension at the bottom that discharges at least a few feet from the house — the whole point is moving water away from the foundation, not next to it.
- One downspout per 30–40 feet of gutter, plus one at each corner where runs meet.
- Add an extra outlet on tree-heavy Greenville, Greer and Simpsonville lots — more drops mean fewer clogs.
- Discharge 4–6 feet out from the foundation, ideally onto a splash block or into a drain.
Then test it. Run a garden hose into the high end of each run and watch the water travel. It should flow steadily to the downspouts and out — no standing puddles, no overflow at the seams. If water pools, nudge the slope; if a seam drips, dry it and add sealant. Better to find it now with a hose than during the first Upstate thunderstorm.
Want it done once, done right — with a warranty behind it?
Our crews install seamless gutters and micromesh protection across the Upstate every day. Get a free on-site quote and skip the ladder entirely.
Common mistakes to avoid
Nearly every failed gutter we replace traces back to one of a handful of avoidable errors. Watch for these:
- Wrong pitch. Too flat and water sits; too steep and it looks crooked and overshoots the downspout. Stick to 1/4 inch per 10 feet.
- Too few downspouts. The single most common cause of overflow. When in doubt, add one.
- Loose or over-spaced hangers. Gutters that sag or pull away from the fascia are usually under-fastened, especially under heavy pine and oak loads.
- Skipping fascia repair. Hanging new gutters on rotted wood just hides the problem until it fails.
- Undersized gutters. A 5-inch gutter can choke under a big Upstate roof and a fast storm — size up to 6-inch when in doubt.
- Sloppy sealing. Every unsealed seam is a future drip. Seal joints, end caps and fasteners without exception.
When to hire a pro in the Upstate
DIY gutters make sense on a single-story home with straight, accessible runs. Past that, the calculus changes fast — and around here, plenty of homes tip into "call a pro" territory.
Bring in a professional when you're dealing with a two-story or three-story home, a steep or complex roofline, long runs where seamless gutters would clearly outperform sectional, or any situation where ladder footing is dicey. The fall risk on a tall Greenville home simply isn't worth the few hundred dollars you'd save, and a seamless machine install gives you a leak-free result that pre-cut sections can't match.
"The money you save doing your own two-story gutters disappears the first time you're overreaching from the top rung of a ladder. Some jobs are worth handing off."
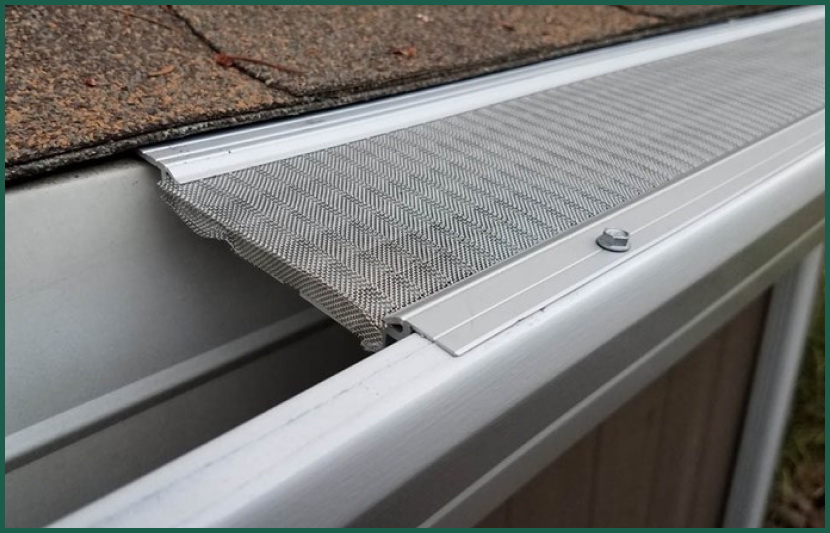
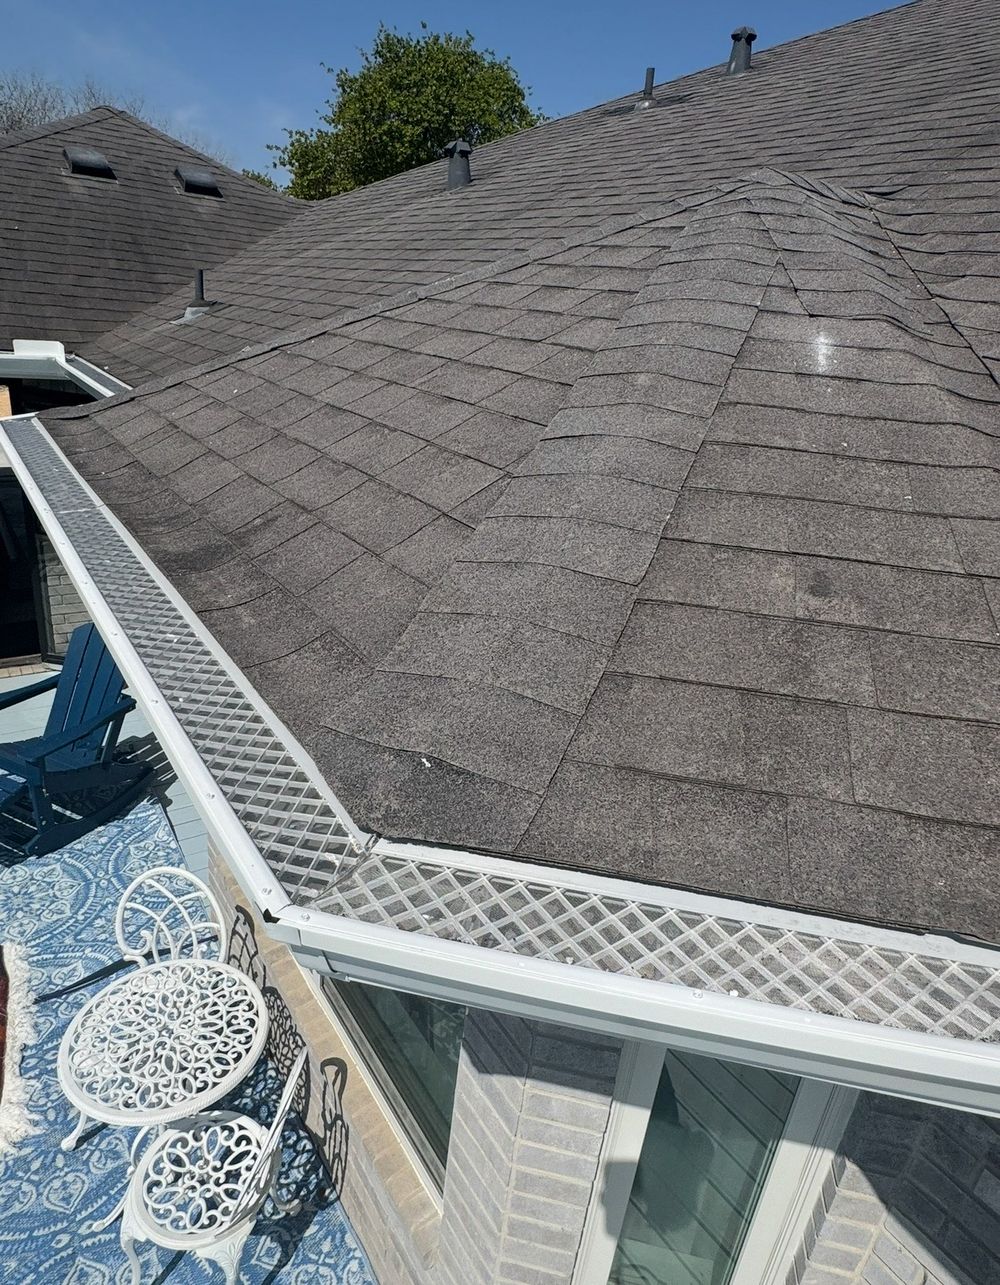
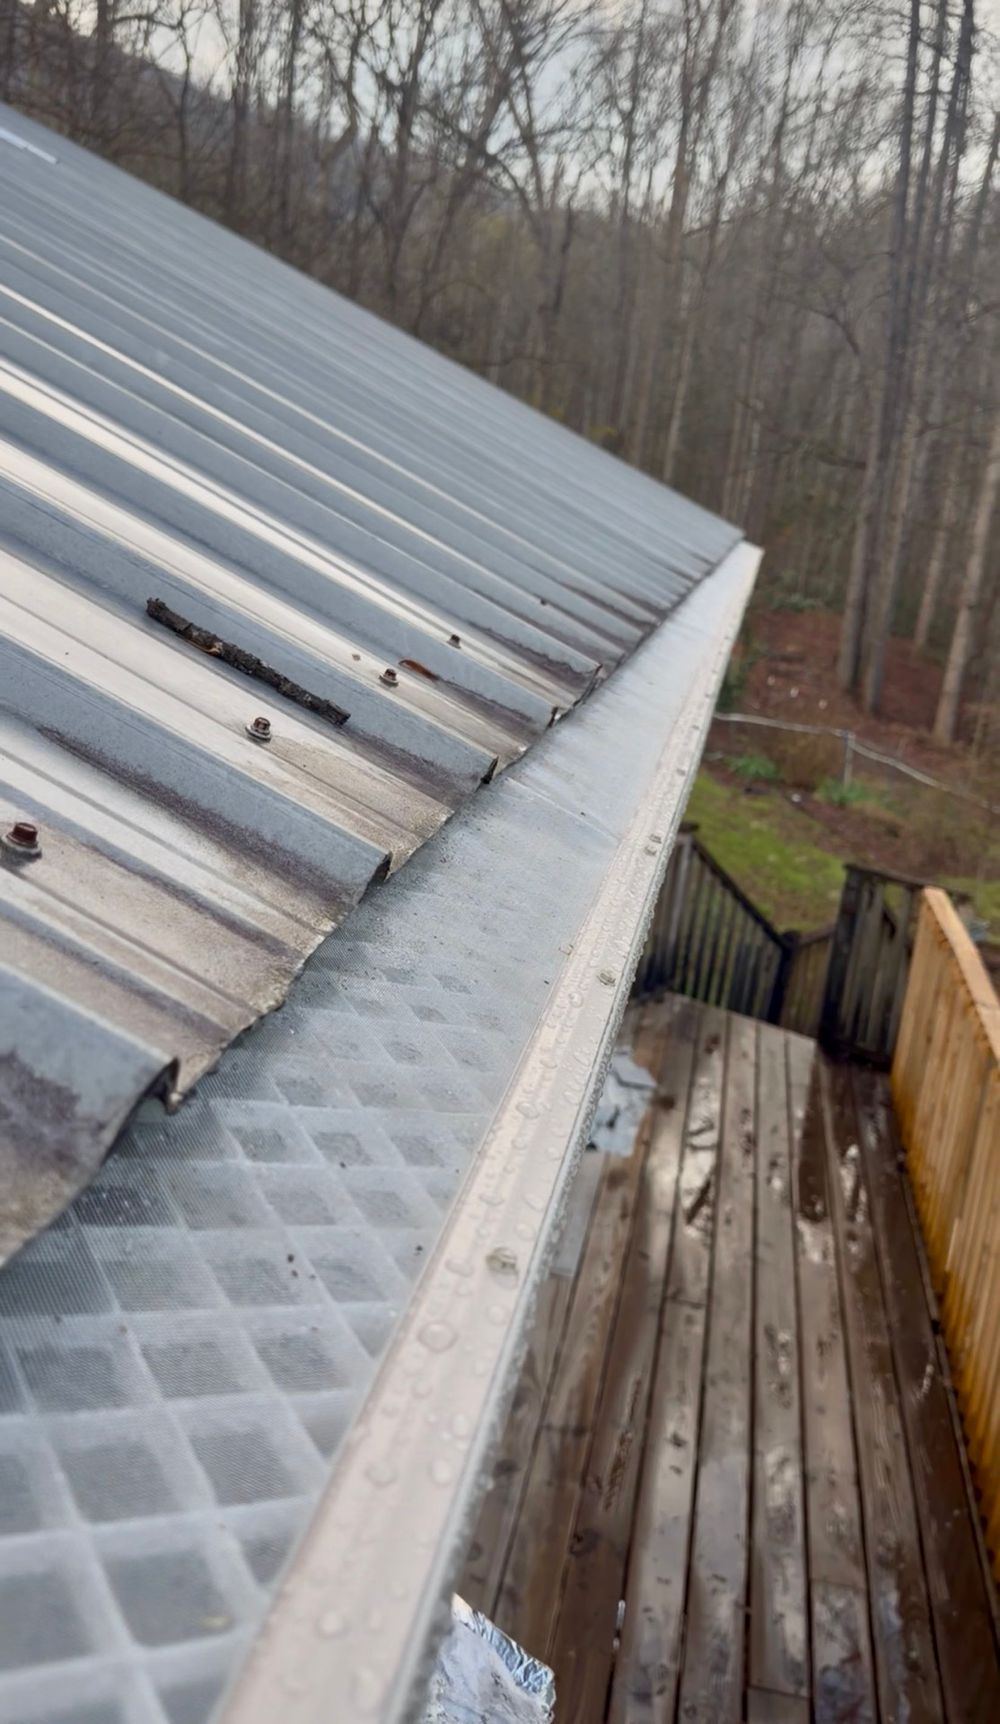
— Upstate LeafFilterAnd whether you install them yourself or hire out, think about protection while you're up there. Adding micromesh guards during the install means you may never have to climb back up to clean them — a real advantage under our pines, oaks and year-round leaf drop.
Frequently asked questions
Keep reading